Everyone, especially the new generation, wants to become a digital artist. Dive into Piskel drawing! This handbook will teach you how to create adorable pixel creations using the simple to use tool Piskel art. The tools in its editor that we will discuss are the pen, color palette, and eraser. Then you will find out how to do shading, layers, and animation techniques easily. Next, we will give some tricks to stimulate your creativity and make your designs original. Lastly, you will get ideas on how you can get your children to tease their imaginations with engaging pixel art. To the very end, you will be confident enough in creating your own sprites and in helping edify young artists looking into pixel art.
What is Piskel?
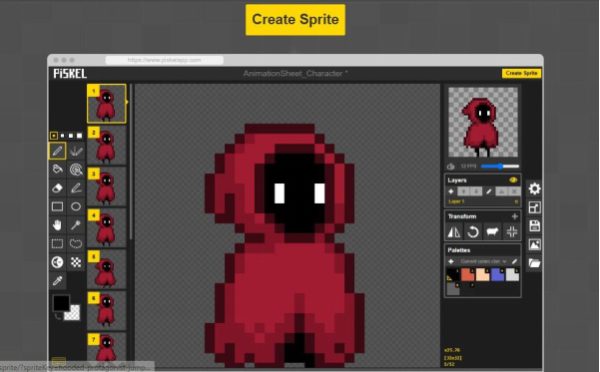
Piskel is your handy online pixel art and animation editor that lives in your browser. You dive right into a grid-based canvas in which each square is one pixel. The editor tools you choose are the pen, eraser, and the fill bucket to draw out shapes. Also, you put on colors, frame your animations, and see your creations in real time with the ease of simply staying on the page. It has a basic tool bar and the live-preview aspect that streamlines the process to be easy and understandable, whether you are designing game sprites, icons, or a short GIF animation.
Piskel has more than just the main drawing tools, though, and supports onion-skinning so you can see the movement between frames. One simply clicks to save a copy in PNGs or export files as an animated GIF. It even has layers of complicated designs. It will not involve a steep learning curve and a large download. All the processes go online, which means you are less concerned about the setup and more about creativity.
The best thing about it is that Piskel is free and open source. There is also nothing you pay to use the full suite of features, and you can look through the code or even change it, visiting its GitHub page. Anyone can participate there with no costs and without expensive hardware.
Key features of Piskel
Piskel is a fun and easy-to-use online editor designed for creating pixel art and animations. It has many useful features that help the user complete their tasks.
User-friendly interface
You jump into Piskel art and see a clean, uncluttered toolbar. You pick tools like the pen, eraser, and color picker with a single click. A grid-based canvas shows every pixel clearly, so you never lose track of your work. You adjust zoom levels with ease and pan around smoothly. Live previews update instantly as you draw, keeping your flow alive. This straightforward setup lets you focus on art, not on hunting through menus.
Animation capabilities
You build frame-by-frame animations right in the same workspace you draw. You add as many frames as you like, then tweak each one. Onion-skinning shows faint outlines of previous and next frames, so your motion stays consistent. You press play and watch your sprite dance or walk in real time. When you need a sheet, Piskel auto-generates a sprite sheet that you can tweak or export directly.
Import and export options
You bring in existing art by dragging in PNG, GIF, or JPG files. Piskel slices sprite sheets automatically, so you skip the manual cut-up step. When you’re done, you export static PNGs or animated GIFs in one click. You can also grab a full spritesheet bundle (PNG + ZIP) for game engines or share social-ready GIFs instantly.
Compatibility
You can open Piskel art in any modern browser, like Chrome, Firefox, Edge on Windows, macOS, Linux, or even Chromebook. If you go offline, you download the desktop build for Windows, macOS, or Linux and keep creating without a network connection. For kids and classrooms, you switch over to Piskel for Kids, a distraction-free version with no ads or tracking, so your young artists stay safe and focused.
How to get started with Piskel?
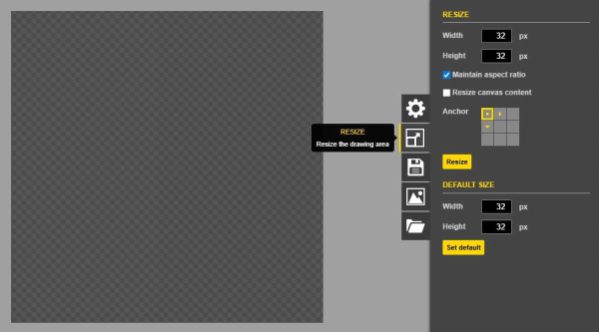
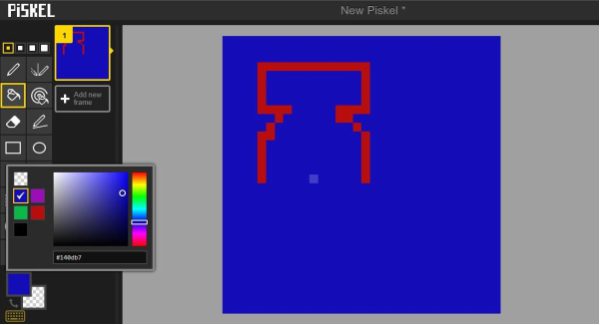
To open Piskel, you just have to open a browser, go to piskelapp.com, and then press Create Sprite to get a blank canvas. Resize your canvas to accommodate your project, such as 32×32 to use classic sprites or smaller or bigger depending on what you want to see added to detail. Zoom in and out comfortably and choose tools such as pen, eraser, and color picker on the uncluttered toolbar.
You could observe the line and test the Ken Burns effect or even draw simple shapes to observe the effects. Get comfortable and give onion-skinning a try to lay out animation frame by frame. The auto-saving occurs on your browser, and you do not have to set up the process of saving and the complications that come along with it.
How to create an account on Piskel?
Now, in its latest version on the internet, you do not need to make an account on Piskel to create projects and design with pixels. All you need is to access the site and start working on your new pixel based art projects right away.
Guide to making your first pixel art project
Ready for your first masterpiece? Just follow these steps:
- Step 1. Click Create Sprite to open a new canvas.
- Step 2. Select a canvas size, start small (16×16 or 32×32) to stay focused.
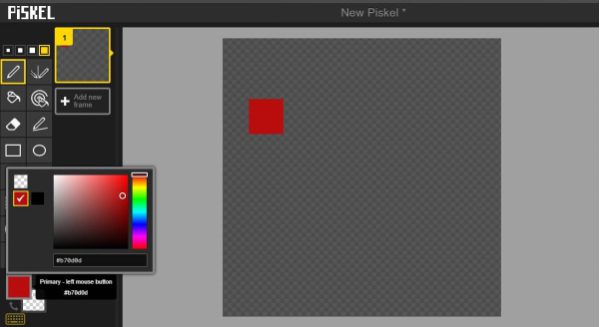
- Step 3. Pick the pen tool and choose a simple color.
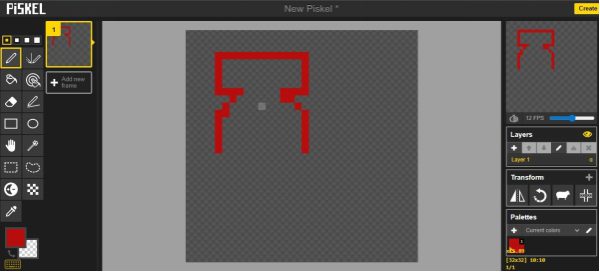
- Step 4. Sketch your basic outline using single-pixel strokes.
- Step 5. Use the fill bucket to block in base colors. Switch on onion-skinning if you plan to animate.
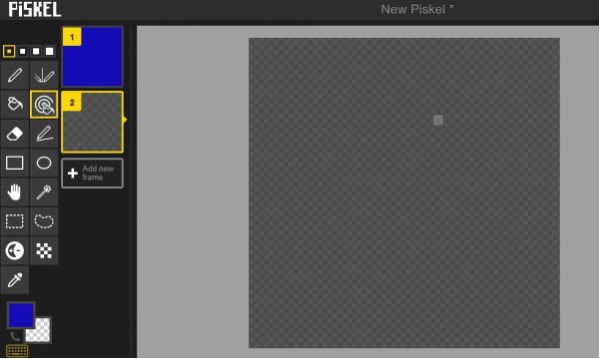
- Step 6. Hit Add New Frame to build a simple two-frame animation.
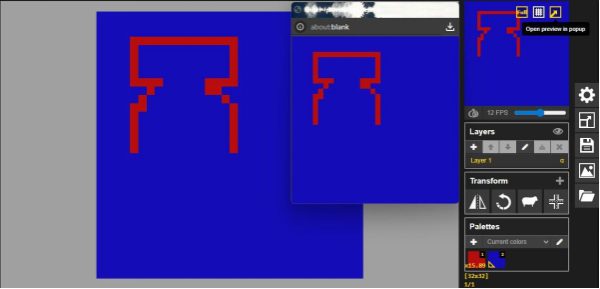
- Step 7. Preview your work with the play button.
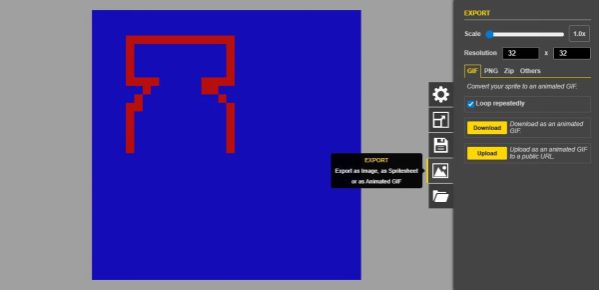
- Step 8. Export your art as a PNG, ZIP, GIF, or other format when you’re done.
- Step 9. Share your creation or tweak it more, as your canvas never closes.
Foster creativity safely with real-time monitoring and content filtering features.
Tips and techniques for creating Piskel art
There is nothing better than being wise in your decisions and tricks. The tool set provided by Piskel goes right to the point.
Choosing the right color palette
You begin with a small and harmonious group of colors. A palette of 8-16 colors leaves you nowhere to hide and calls it bad design, pushing you to find ways to make this small palette work towards its contrast and legibility. You can use Piskel art to modify some available palettes or even import community sets. Use new or vintage-themed nag palettes to fit your aesthetic, whether that’s retro-style games or ultra-minimalistic modernism. The fewer colors, the better, because it keeps your sprites looking nice and sharp, as well as the files themselves being small.
How to use layers and frames for animations
You make clean, organized work when you separate objects into layers as background, character, highlights, etc. That way, when you adjust one part, you do not mess up another. In terms of motion, Piskel has a so-called onion-skinning place where you can see faint lines of the previous frames. Add, duplicate, or delete frames at will. The correct layering, accompanied by the frame control, helps to ensure glitch-free motions.
The importance of resolution in pixel art
Resolution establishes the number of pixels that are at your disposal. When you have a 16×16 canvas, you are limited in what you can do, but with a 64×64 canvas, you have room to be elaborate. You decide what you want to work on: games running loads of tiny sprites, icons, or scene art with large canvases. This is because, as the resolution increases, the time to draw it will as well; also, small sprites may end up losing some of their details when you push your palette too far. Choose a size that is not too difficult but also not too easy.
Understanding dithering and shading techniques
Dithering blends two colors by interspersing pixels in a checkerboard or patterned fashion. It creates the illusion of smooth gradients even with a limited palette. Piskel doesn’t have a one-click dither tool, but you can use the pen in alternating pixels to simulate classic Atari-era effects. Combine that with simple two-tone shading: pick a light and dark version of your base color, then use single-pixel highlights for crisp depth. Mastering these approaches gives your art that polished, professional look.
Is Piskel better than Aseprite?
Both Piskel and Aseprite excel at pixel art, but they serve a different purpose. Piskel is built directly in your browser (it also has an optional desktop build) and is free, with an open-source codebase. It is ideal to make quick sketches, demos in the classroom, or amateur hobbies. Aseprite is a well-finished desktop software with complex brushes, scripting with Lua, tilemaps, and a commercial license priced at $19.99. It excels for pro workflows and deep customization.
Here’s a side-by-side comparison:
| FEATURE | PISKEL | ASEPRITE |
| Cost & License | Free; Apache-2.0 open source | $19.99 one-time fee; source-available under EULA |
| Platform | Browser-based; Windows/Mac/Linux desktop build | Native Windows, macOS, Linux |
| Animation & Onion-Skinning | Multi-frame support with live preview | Frame tags, onion-skinning with opacity controls |
| Layers & Tilesets | Basic layer support; manual spritesheet export | Layer groups, tilemap mode, animation tags |
| Scripting & Extensions | No scripting; community plugins limited | Lua scripting, command-line interface |
| Import/Export Formats | PNG, GIF, JPG, spritesheet bundles | PNG, GIF, FLC, FLI, JPEG, PCX, TGA, ICO, SVG, BMP |
| Updates & Support | Community-maintained, variable desktop releases | Official updates through Humble Bundle, itch.io, and Steam |
Is Piskel safe for kids?
Piskel also has a sandbox where kids are secure by design. It’s Pixel for Kids mode removes ads, tracking, galleries, and chat functions so children never encounter inappropriate materials, connections, or dialogue. The site does not collect any sort of personal data, and all data processing is fully anonymous and aggregated, as there is no chance of being profiled or placed in the ad net.
The age verification or need to sign up is not required in Piskel, so many privacy hazards are avoided. The United States Children’s Online Privacy Protection Act (COPPA) offers a lighter set of compliance requirements to apps that do not collect personal information about users under 13 years of age. This is the case with Piskel; by design, there is no PII to share or leak. In classrooms, the teachers can implement the offline desktop build, removing any network-based exposure as well.
Authoritative guidelines on it support this. As the 2024 NTIA report on online health and safety of children cites that the creative tools that do not allow social feed or messaging systems can be rated the lowest on the risk scales of contact and commercial. Similarly, the Online Safety Act of 2023 requires that child-oriented platforms place high standards of duty of care upon their platforms. By providing an experience that is free of advertisements and the need to log in, Piskel is essentially pre-compliant with a good portion of these requirements before they are realized.
How Piskel can be a productive tool for kids’ creative expression?
Kids thrive when they feel both safe and free to create. Piskel’s ad-free, no-login “For Kids” mode removes distractions and privacy worries so you can focus on art. Yet even the best creative space benefits from a little parental guidance. You set clear limits, check in on progress, and celebrate every pixel-perfect milestone.
Pairing Piskel art with a family-friendly control platform like FlashGet Kids brings extra peace of mind and productivity:
- You simply define daily art sessions by setting screen time limits. When time’s up, Piskel gently locks, encouraging healthy breaks without killing creative momentum.
- You watch real-time canvas action on your device. Spot teaching moments, offer tips instantly, and keep kids engaged on the right project.
- You simply block specific apps, websites, or keywords to protect kids from harmful or inappropriate content during usage. That keeps focus on drawing inside Piskel’s safe environment and wards off accidental exposure to mature content.
- You simply see stats on hours spent by FlashGet Kids.
Conclusion
Now you know that Piskel art presents a neat, in browser workspace and an easy to go with pixel art and animation tools. You discovered essential functions, a user-friendly interface, the use of multiple frames, and import and export options. The possibility of access across platforms, and you have to know how to log in, draw sprites, and export PNGs or GIFs. You distinguished yourself in the basics, like selection of a specialized palette, adding frames, manipulation of resolution and dithering. You contrasted the free directness of Piskel with the sophisticated toolkit of Aseprite. In the end, FlashGet Kids and its parental controls actually help young artists stay safe, focused, and free from distractions while they use this online editor.

