Tired of straining to follow the discussion in a noisy place? Live Listen iPhone or Android’s similar feature, is a golden weapon for you.
This feature-rich accessibility tool turns your phone into a remote microphone that loudens surrounding sounds and streams them directly to your earpieces.
Let’s look into how to switch on this potent tool on iPhone and Android phones in several uncomplicated steps so you can hear conversations clearly, even in difficult situations.
Is there a Live Listen option for Android?
Android phones has a live listening feature similar to the Live Listen feature on iPhone. It is known as the Sound Amplifier app.
The Android Sound Amplifier feature makes accessibility to iPhone users just like Live Listen. Once activated, it takes on the sound surrounding your cell phone and transmits it to wired or Bluetooth earphones, which are connected to your device. Being a feature released by Google, it is automatically supported on all the devices with Android 6 and higher, which is a part of the Pixel series and upward.
On the other hand, if it is not pre-installed on your phone, you can always get it from the Google Play Store. Through the Settings option followed by selecting Accessibility, you can turn on the Sound Amplifier. When the feature is activated, the microphone of the phone starts listening and then in real time the audio is processed. Next, it will present you with several features that will allow you to amplify frequency and minimize interferences and ambient noise. Here are some of the key features:
The microphone picks up the audio
The sound amplifier listens to surrounding conversations and audio just like Live Listen using your phone’s microphone.
Makes important sounds louder
It adjusts the audio volume already captured to enhance the sounds you want to prioritize, such as the spoken words.
Lower ambient noise
A sound amplifier can filter and lower background sounds that are known for making it difficult to hear normally, similar to live Listening.
Routes audio to headphones
The audio sent out is heard via wired or Bluetooth headphones connected to your Pixel phone.
By keeping background noise to a minimum, conversations, lectures, and other auditory information become noticeably clearer and easier to understand.
Use FlashGet Kids one-way audio to keep them safe in real-time.
How to enable Live Listen on iPhone and Android?
The feature of Live Listen is especially helpful for deaf people or when you need to hear a person from a distance.
And so, comprehending the method to activate Live Listen on iPhone and Android becomes important.
How to turn on Live Listen (Sound Amplifier) on Android?
Here are the steps to turn on Live Listen equivalent feature Sound Amplifier on Android Google Pixel phones:
1. Open Settings and click Accessibility.
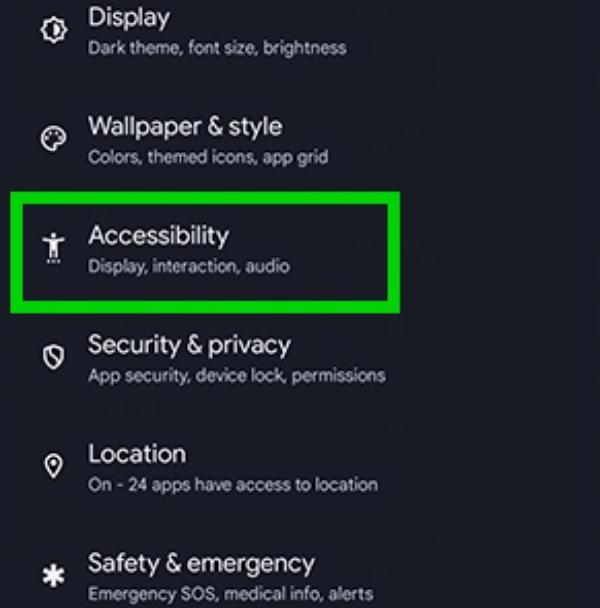


2. Scroll down and tap Sound Amplifier.
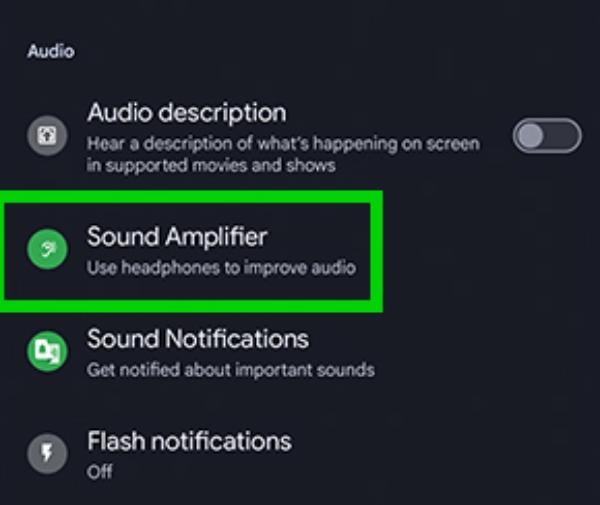


3. Click the button beside “Turn on Sonic Amplifier” to enable it.
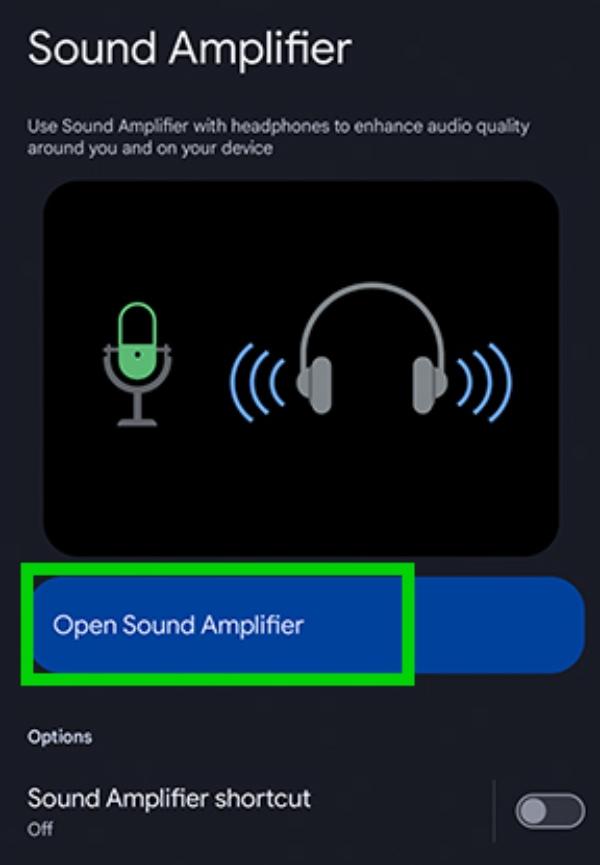


4. Wired headphones can be inserted, or Bluetooth headphones can be paired with your Pixel phone. The sound amplifier is going to need the headphones attached to it.
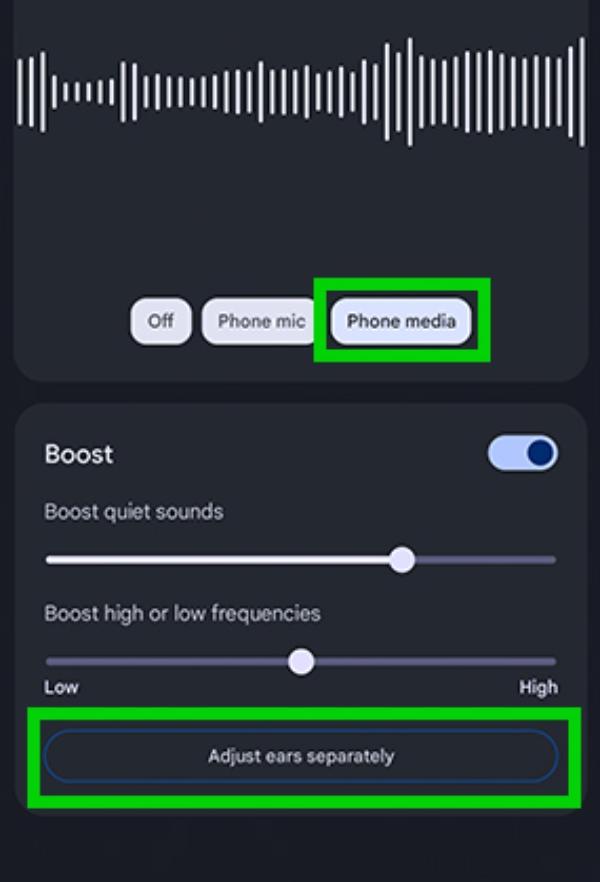


5. Tap Devices to choose which headphone the Sound Amplifier should direct sound to.
6. The volume level can be adjusted by dragging the slider if necessary. The amplification power helps make soft voices audible.
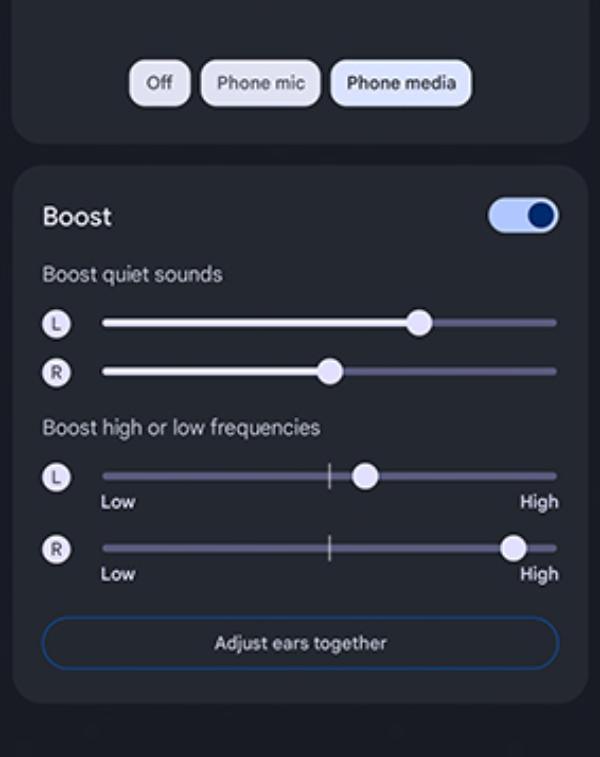


7. Toggle the microphone and select a microphone for Sound Amplifier to use. The front microphone is usually the best.
8. Check to be sure nothing is blocking the microphone. Sound Amplifier will now be able to collect and boost audio that is near you.
9. Press the back arrow to exit settings. The sound amplifier will switch on and route the enhanced audio to your headphones.
10. To turn it off, navigate back to the Sound Amplifier settings and slide the switch off.
How to turn on Live Listen on iPhone?
Here are the steps to turn on Live Listen on iPhone:
1. Navigate to Settings and select Control Center.
2. Tap Customize Controls.
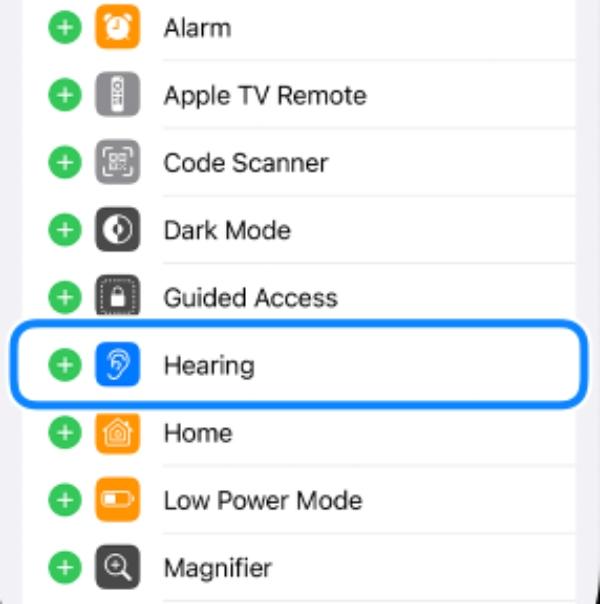
3. Tap the green + icon next to Hearing to add Live Listen to the Control Center.


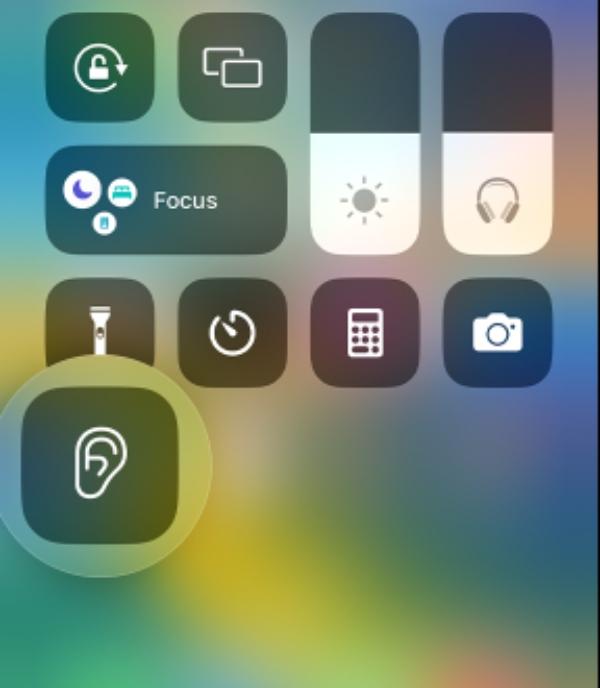
4. Next, slide down from the top right corner of the iPhone to see the Control Center.
5. To start the Live Listen feature, tap the ear icon.


6. Connect your AirPods or headphones with your iPhone. It needs headphones connected to function.
7. Tap Start Live Listen.
8. Take your iPhone closer to the person talking. Make sure that the bottom of your phone faces the speaker.
9. Adjust the volume in the Control Center if needed. The increased volume allows soft voices to be amplified more.
10. Switch between iPhone microphones by clicking on the microphone icon. Position yourself facing the speaker.
11. Tap the Stop button in the Control Center and then finish the Listen when you are done.
How to turn on Live Listen on an iPhone without Airpods?
Here are the steps to turn on Live Listen on iPhone without AirPods:
Enter Settings and select Accessibility > Audio/Visual.
Tap on Live Listen.
Connect either wired or Bluetooth headphones to your iPhone. In order to function, Live Listen needs headphones connected to your phone.
Press the switch that lies next to Live Listen to turn it on.


If sound amplification is needed, adjust the Headphone Level slider.
To choose the microphone on your iPhone, simply tap Microphone. The rear mic usually gives the best results.
Tap Start Live Listen to collect and transmit the sound to the headphones.
Bring your iPhone closer to the speaker and ensure the bottom/rear mic faces them.
Select s Stop Live Listen from the Settings menu when done.
How to record Live Listening on my iPhone?
It may also be handy to record Live Listening so that you can replay the conversations again later. Here are the steps to record Live Listening sessions on your iPhone:
Firstly, go to Accessibility settings on your iPhone and turn on Live Listen. Then, connect your headphones. Touch the Live Listen button and point the phone microphone toward the speaker.
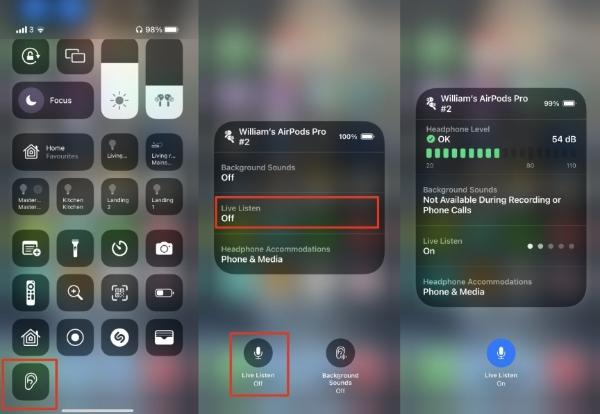


After that, launch the Voice Memos app to record a Live Listening session. Don’t forget to have Live Listen running in the background.
Choose the red Record button in Voice Memos to begin recording the amplified audio.
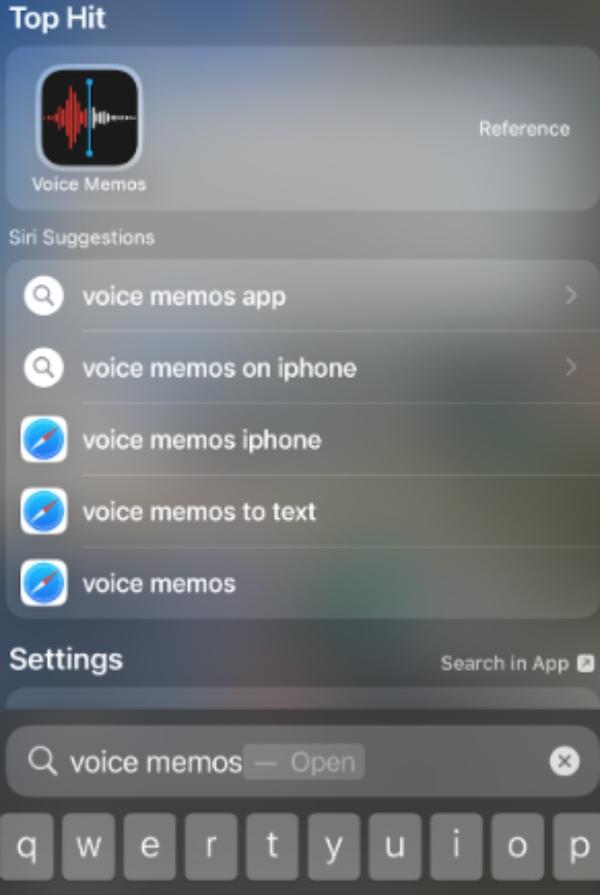


Place the iPhone microphone closest to the speaker so that the mic captures their voice. The iPhone will capture the voices, and they will come through the Live Listen. You can pause/resume recording whenever you want.
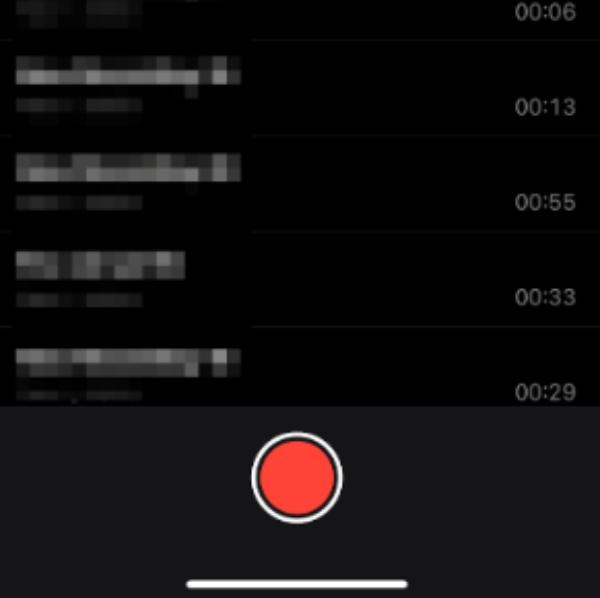


When finished, tap the Stop button in Voice Memos. The recording will be saved in the Voice Memo app. You can listen to the conversation again anytime you like from now on.
Make sure to switch off Live Listen in Accessibility settings when you finish. Now, you have an audio file of the Live Listening session that you can listen to.
How to Listen to and record your kid’s Live Listen on your device?
The “Live Audio” system of FlashGet Kids is the parents’ supervising tool which enables parents to listen to their kids’ conversations and to record them.
It works in such a way that you can hear the sound that the microphone has captured from the environment, which may be helpful for you to have a better knowledge of your surroundings.
Here’s how to enable FlashGet Kids and use it to record and listen to your kid’s device:
Firstly, download and install the FlashGet Kids software on your device and that of your kids. (There are two versions: the one for your kids’ phone and the one for your phone as a parent.)
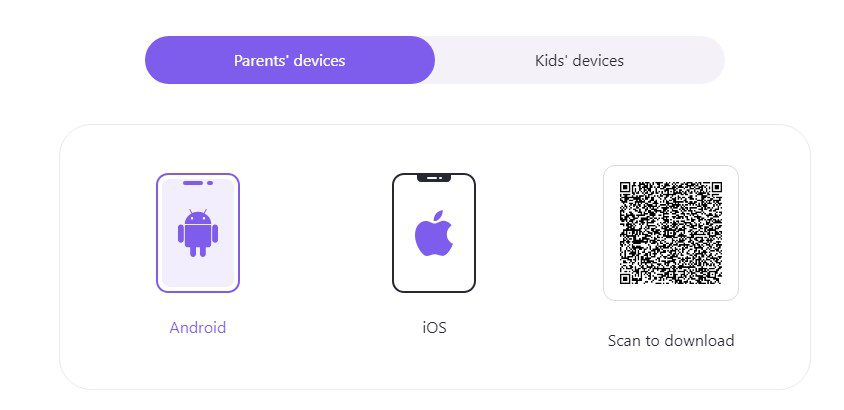


Register and create a FlashGet account to start using the features of the FlashGet Kids app.
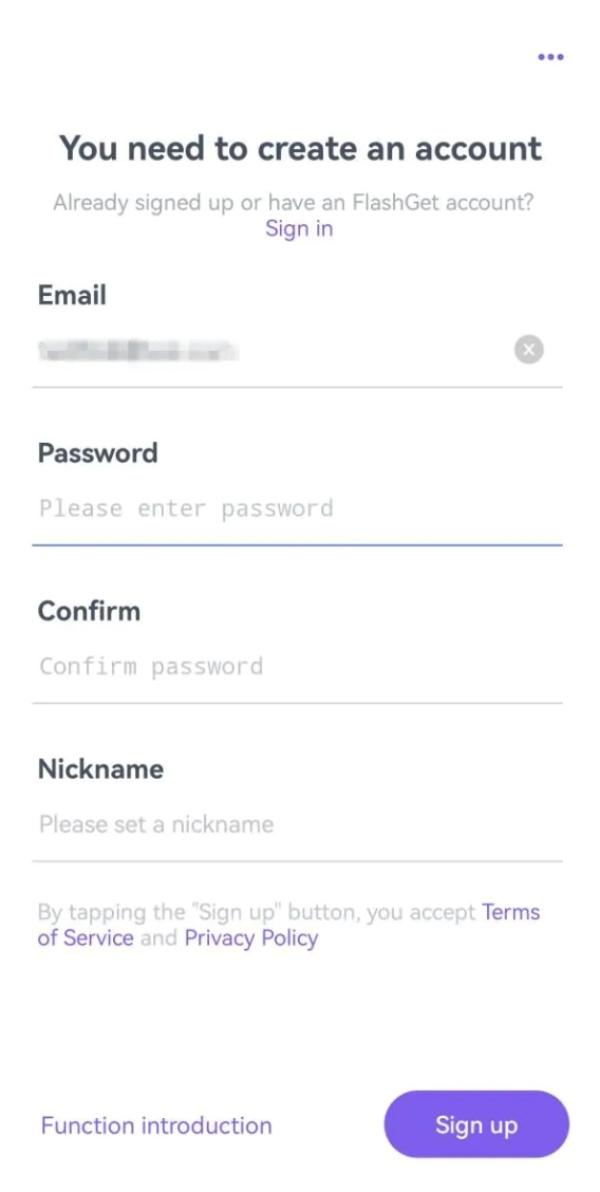


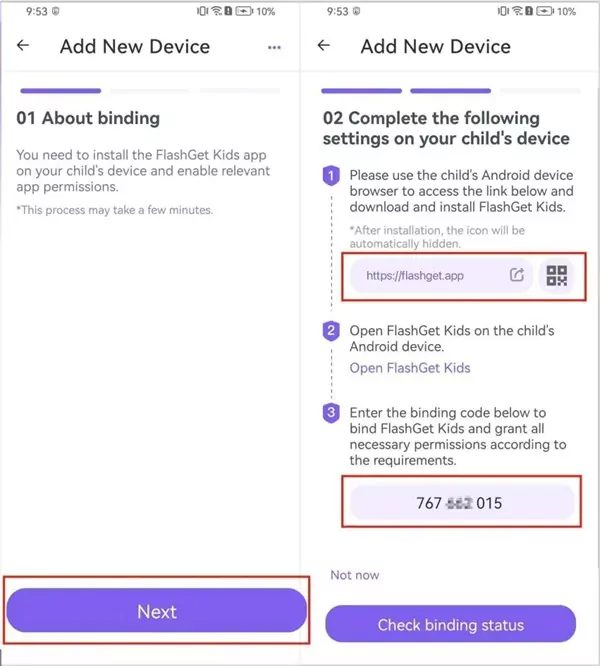
Bind the FlashGet Kid app version for Parental control on your phone to the child’s version on your kid’s phone. You’ll generate a 9-digit code on your parental control, map on your phone, and key it into the child’s phone.


On your device, go to the settings of the FlashGet Kids app and select the Live Monitoring > “One-way Audio” > ” Continue” > “Record.” This will enable you to hear your child’s surroundings.
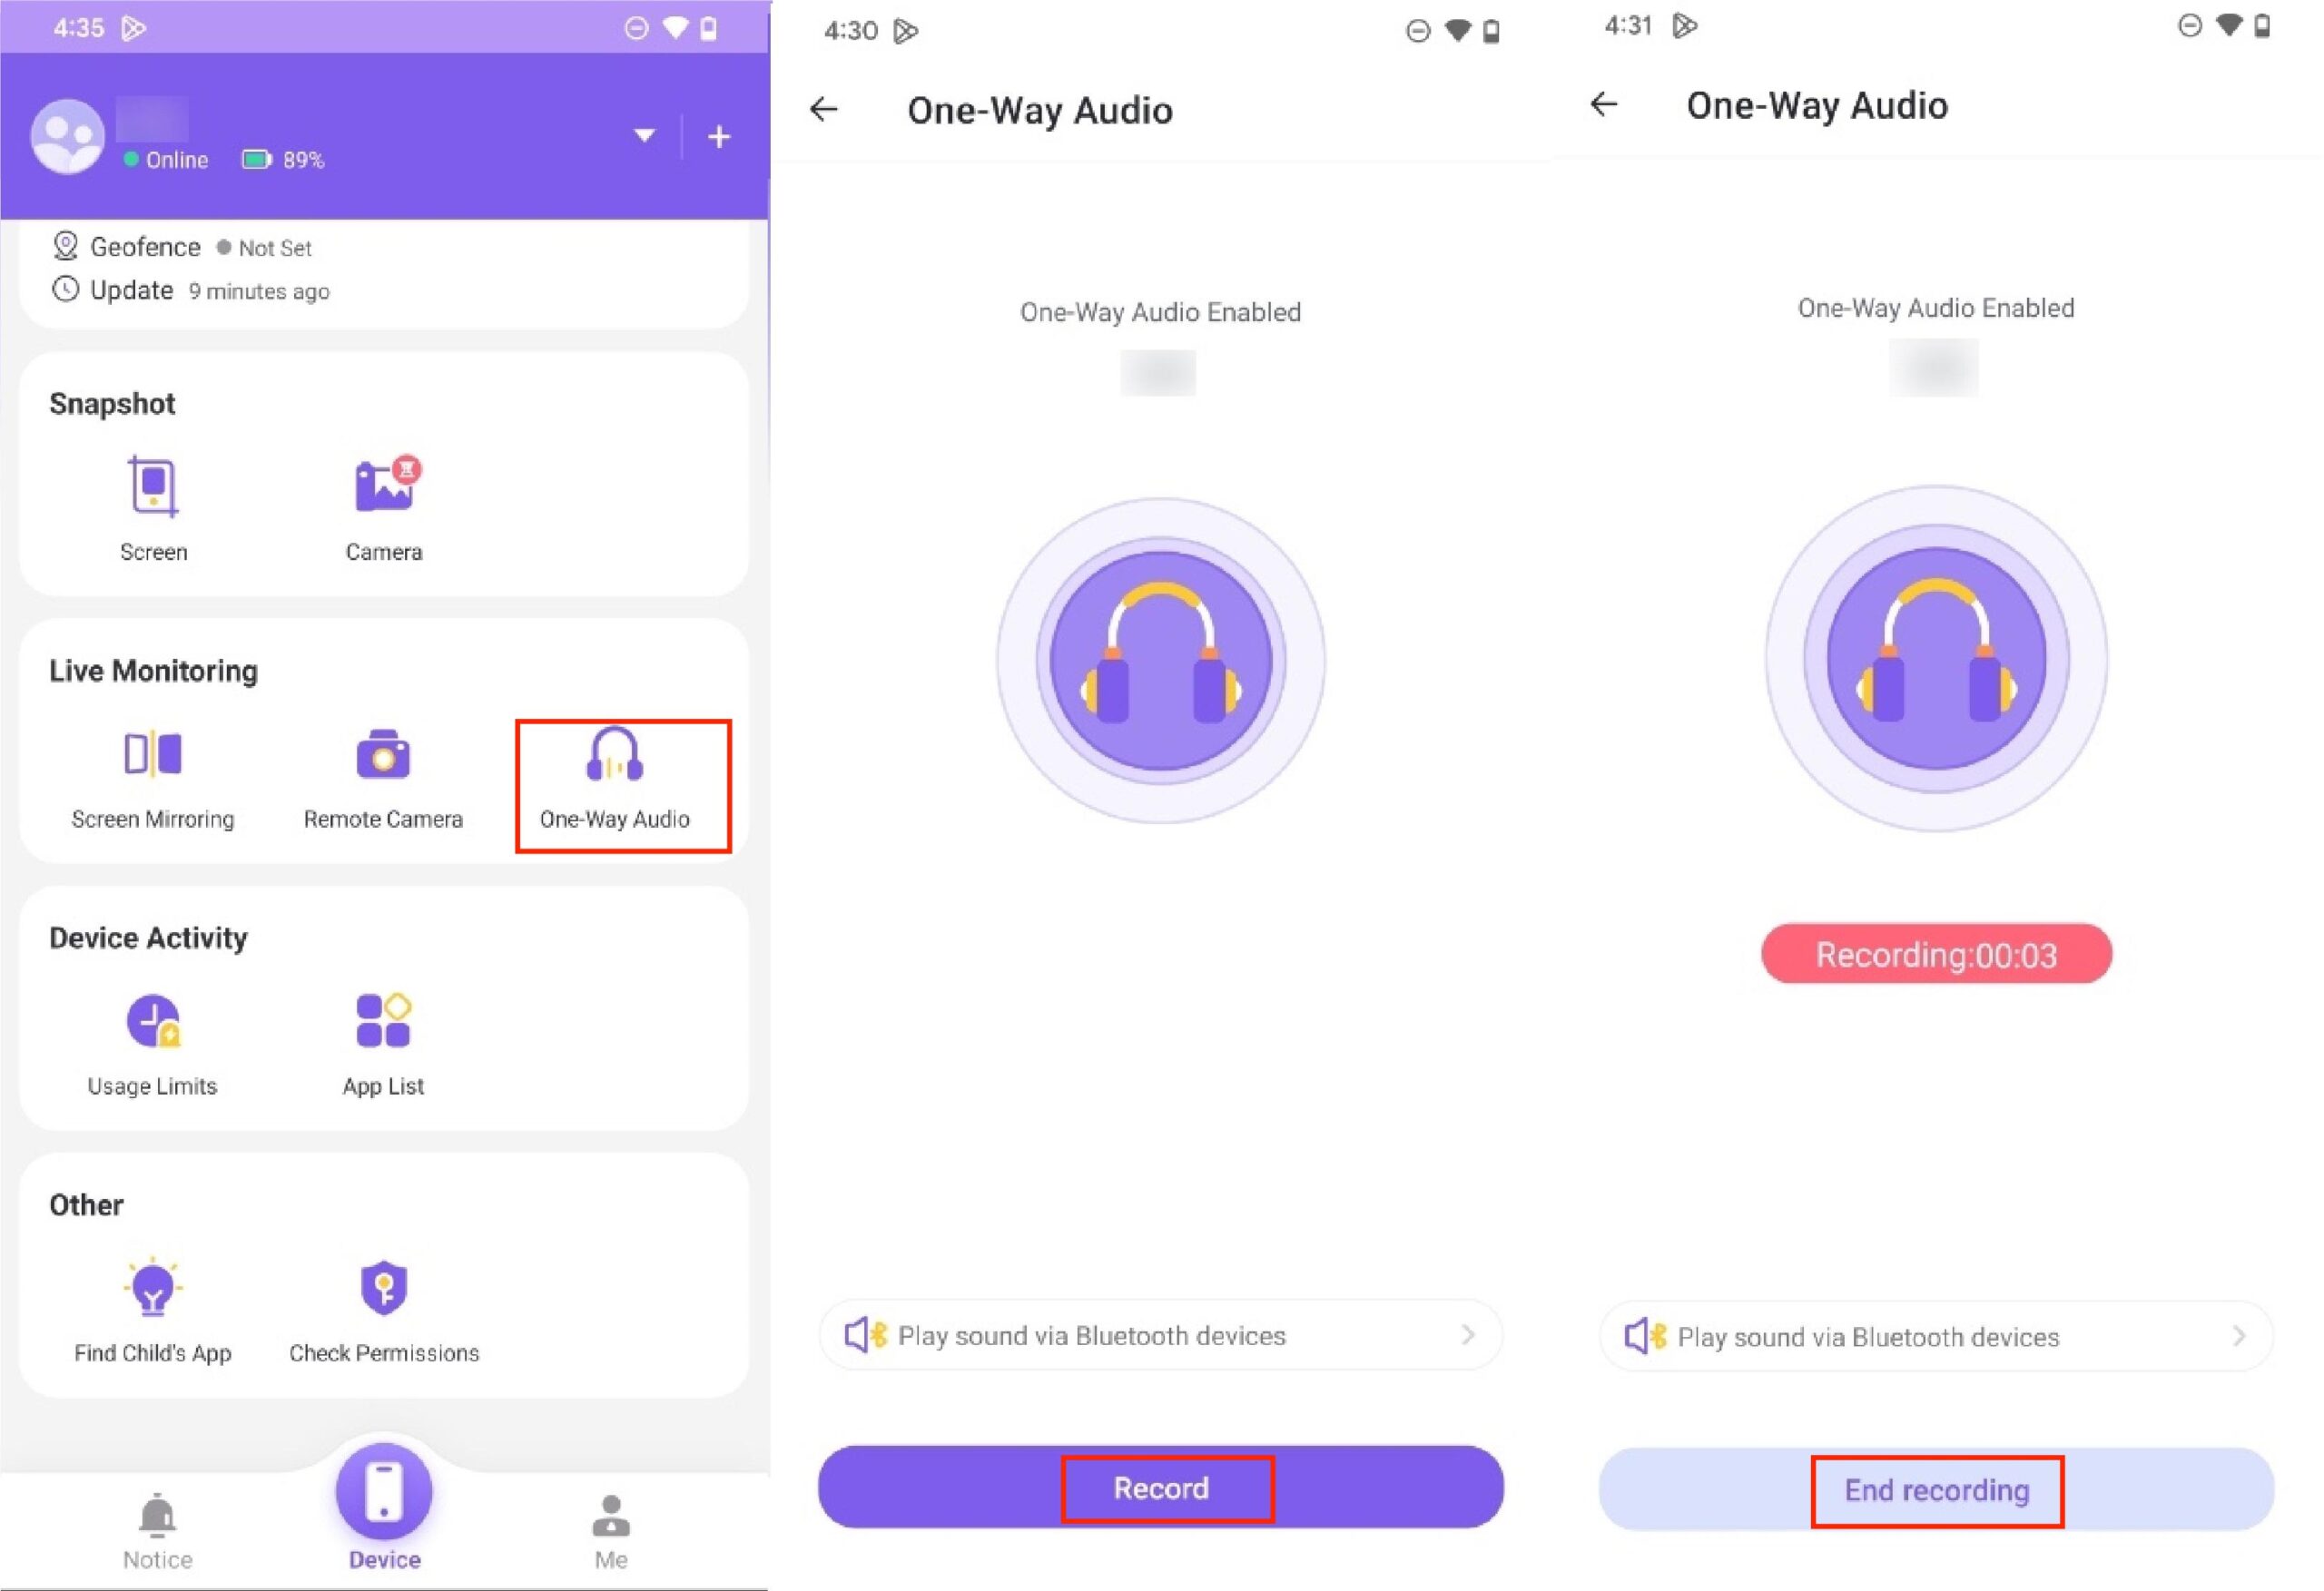


To capture the audio, please press the Live Audio button at the bottom of the interface. FlashGet Kids will now be recording the one-way audio session.
At the end, turn off the recorder. The audio file is to be saved in the app and accessed from Recording History. It is good to know that you can play back the recording whenever you wish to listen to the Live Listening session.
What is the difference between Live Listen and Conversation Boost?
Both Live Listen, and Conversation Boost are designed to enhance your listening experience, but they achieve it in different ways:
Live Listen
Imagine your iPhone or iPad microphone turning into a microphone. This is what Live Listen does, in essence.
It picks up surrounding sounds and sends them directly to your AirPods or compatible headphones, increasing the sounds of your interest.
This is especially beneficial in noisy places where it is difficult to hear conversations or specific noises.
Conversation Boost
This function, available especially on Apple AirPods Pro, concentrates on improving ongoing dialogues that occur near you in the immediate area.
It gives preference to the speech coming to you directly while reducing background noise that might make it unclear or hard to understand.
This can enable you to hear conversations in a clear manner without having to increase the overall volume, which can be beneficial when you go, for example, to a crowded restaurant or a cafe.
FAQs
Does Live Listen use Bluetooth?
Yes, live Listen can use Bluetooth to transmit the sound from your iPhone/iPad to your headphones. Besides that, it could also work with wired headphones. The sound is transmitted from the iPhone to the headphones.
How far does Live Listen work?
The Live Listen feature has no specific range. It depends on how much the iPhone microphone can capture audio from the speaker or source it is based upon. Clarity can be improved by moving closer.
Can I use Live Listen without AirPods?
Yes, Live Listen works with any headphones, such as wired EarPods or third-party headphones that are connected by wire or Bluetooth.
Is Live Listen like a hearing aid?
In a sense, yes- it utilizes the microphone of an iPhone for better amplification of important sounds for greater hearing clarity, just like a hearing aid. On the other hand, audio goes into headphones only.
Which microphone does Live Listen use?
You can go to Settings, and then Accessibility to pick the microphone to be used by iPhone Live Listen. The bottom or the back mic captures the front audio sound the best.

